Chase Violins
  Chase Violins
  • Home
  • Instruments
  • Blog
  • Contact

Kathryn’s Viola- Rough Gouging and Outline

12/29/2015

2 Comments

 
After the ribs are finished, we saw out a rough outline of the instrument.  From there we lower the edge to within one millimeter of its final height.
Picture
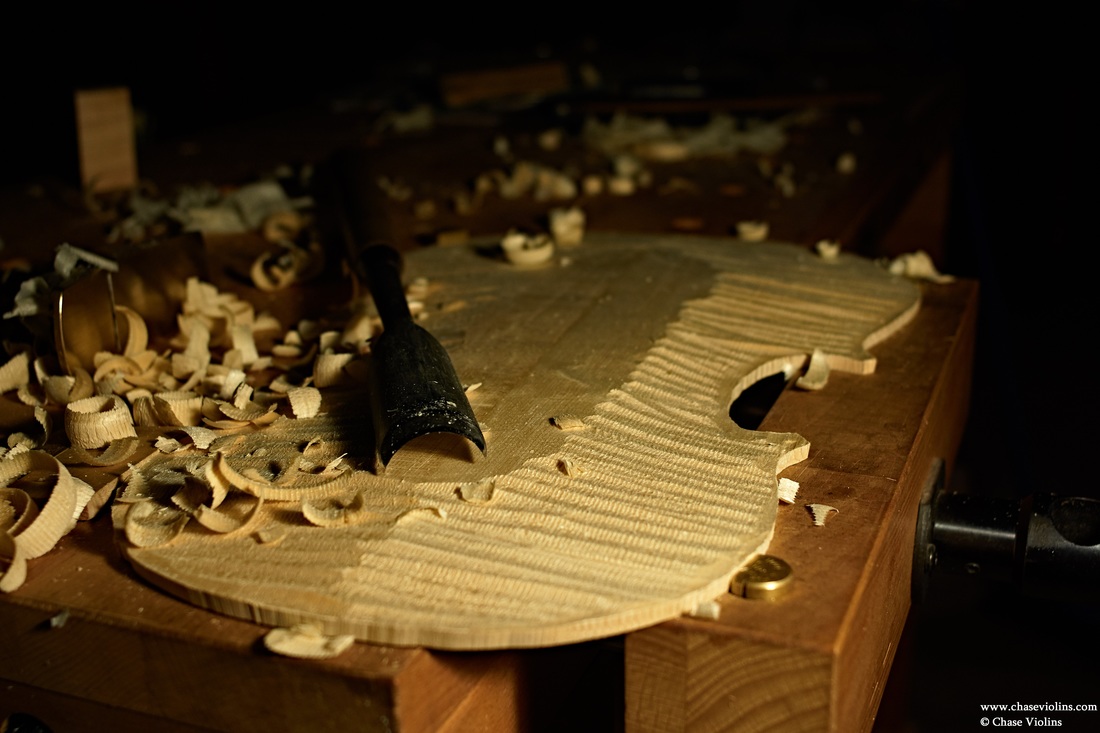
Then, the overall height of the arch is determined and arching is roughed out.  For me, this is where the viola starts to take its form.  It may still be far from its final shape, but the concepts of the arching are now well defined.
Picture
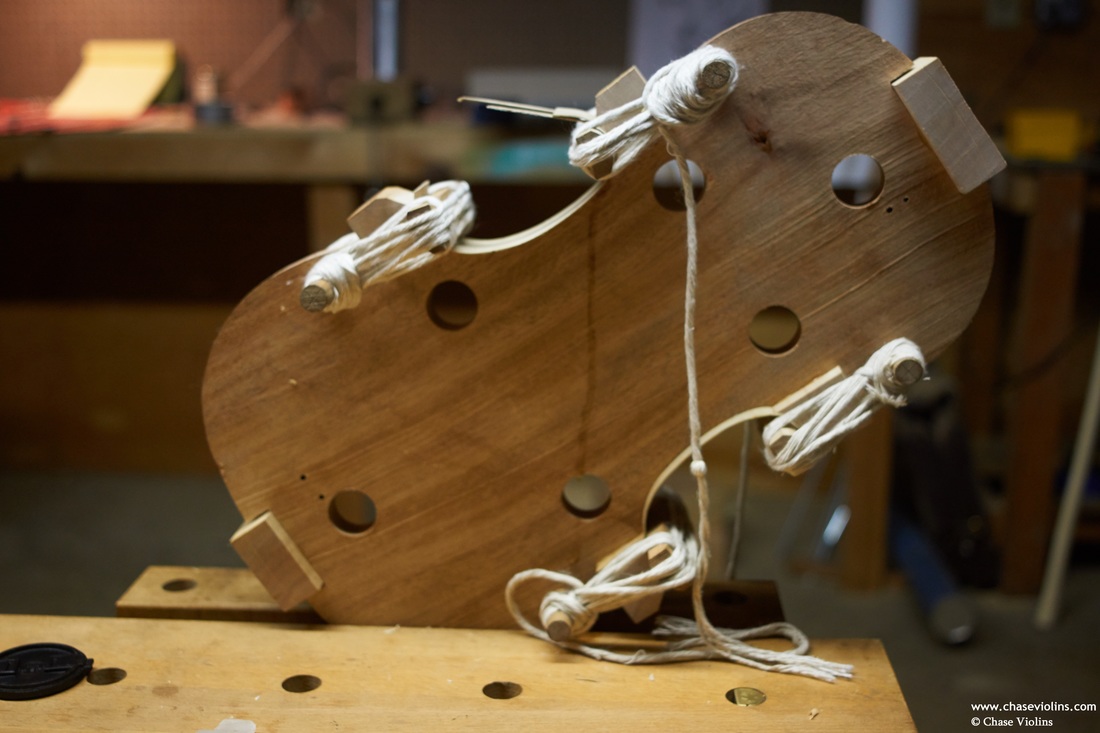
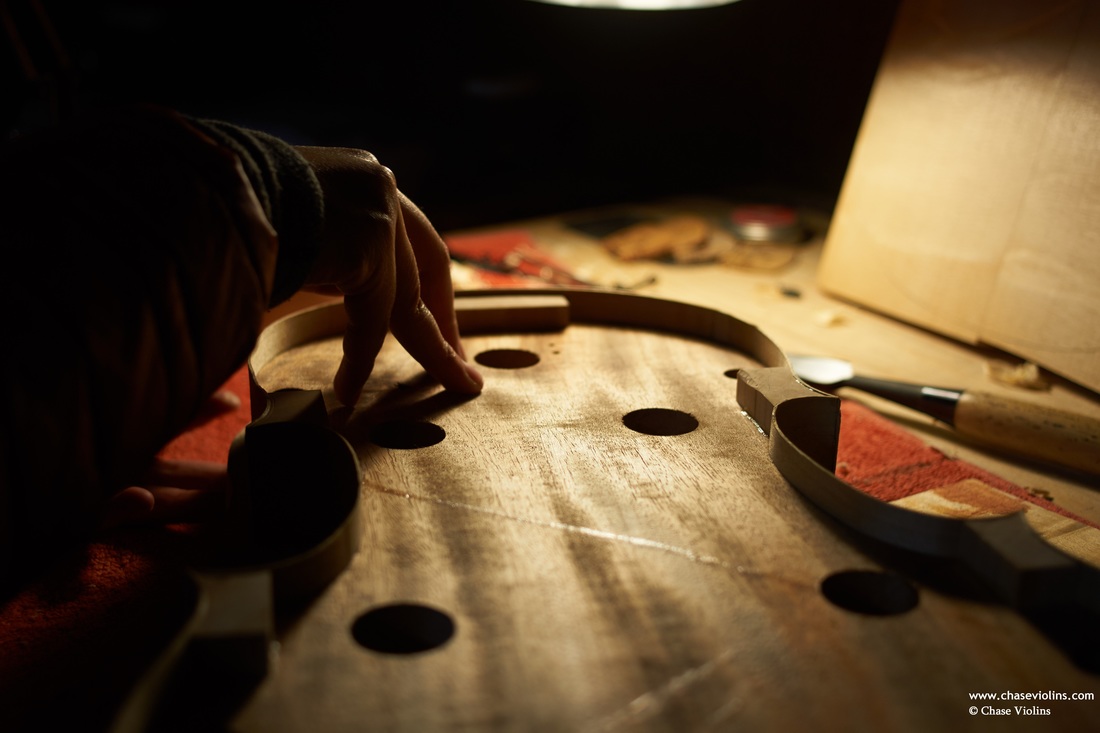
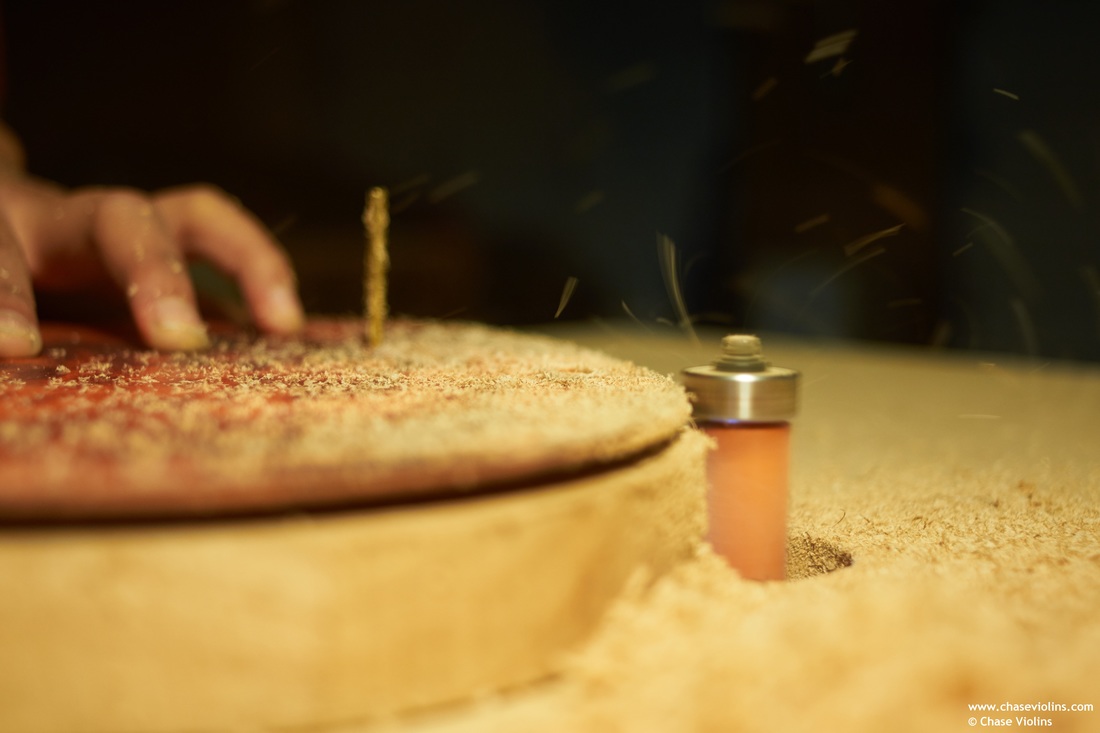
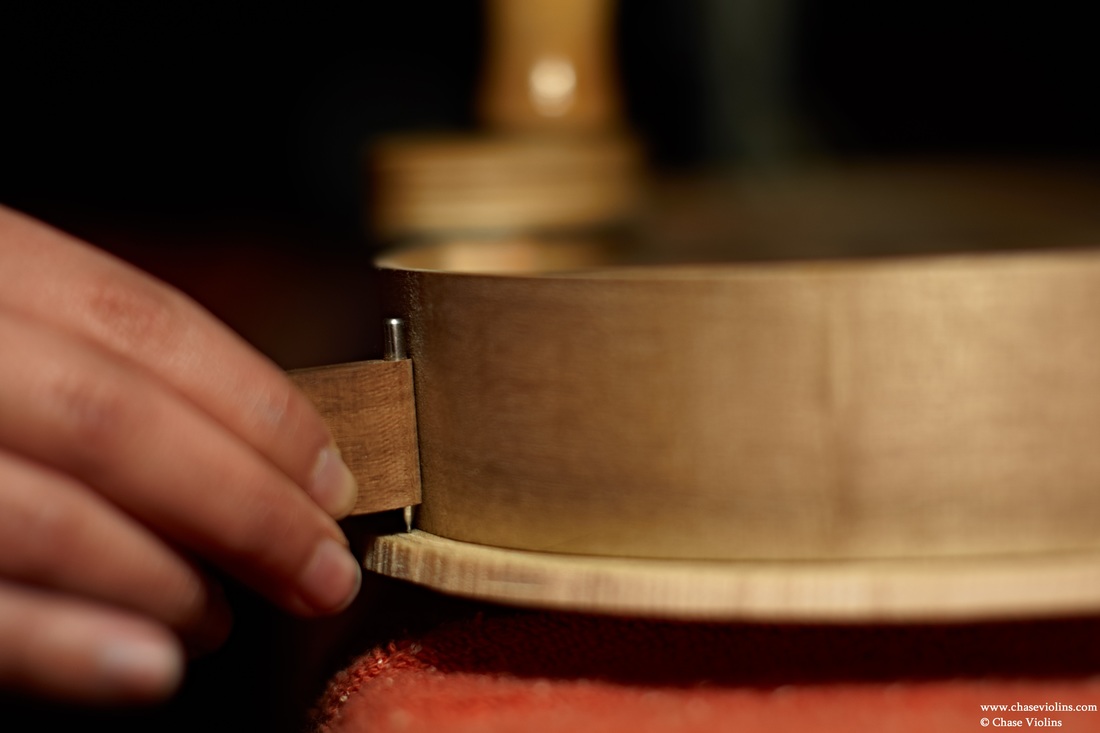
Once the edge is set, holes are drilled into the plates and dowels fit to the holes.  These serve the same function as the holes drilled into the template and mold.
Picture
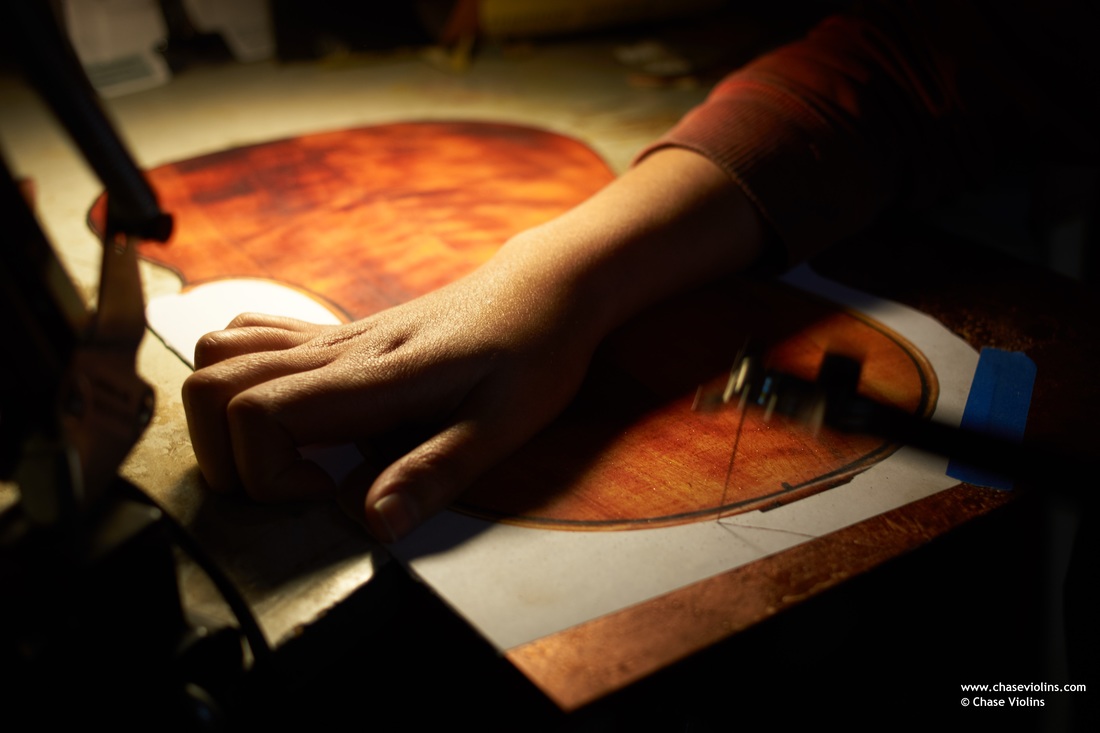
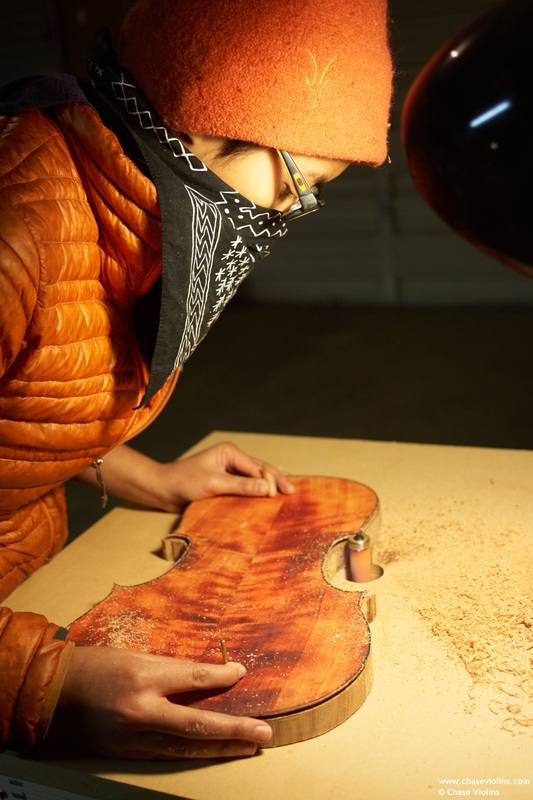
Now that the plates can be placed consistently, a special marking tool is used to mark the outline of the instrument.
Picture
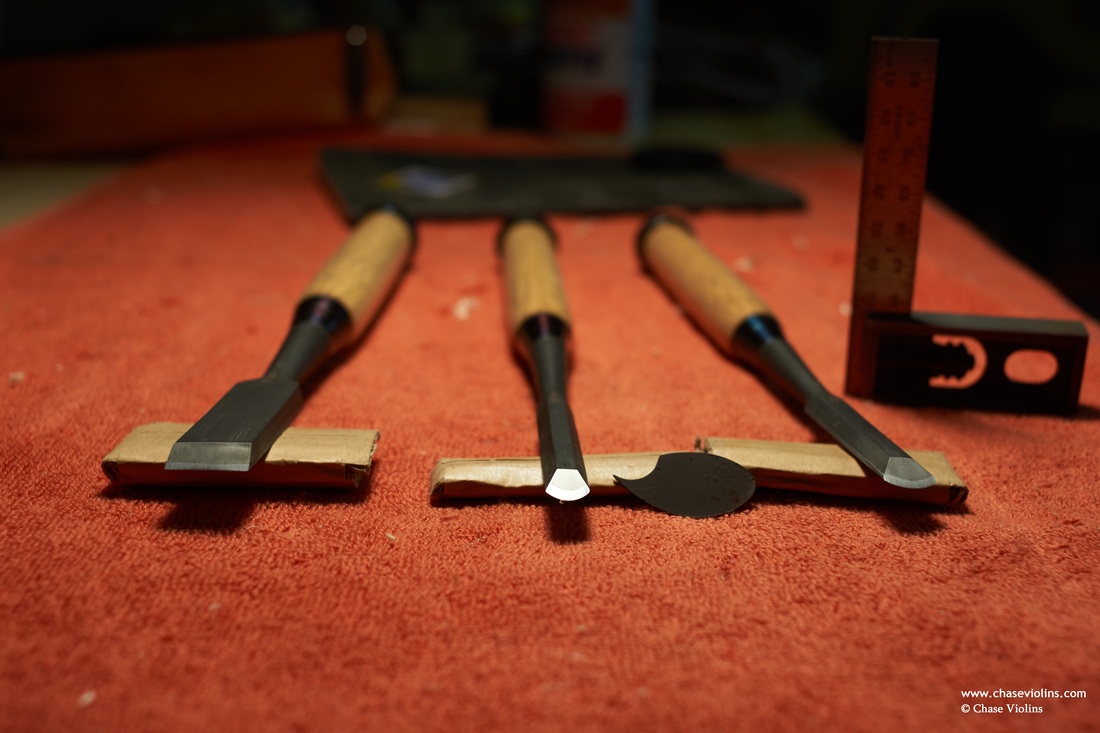
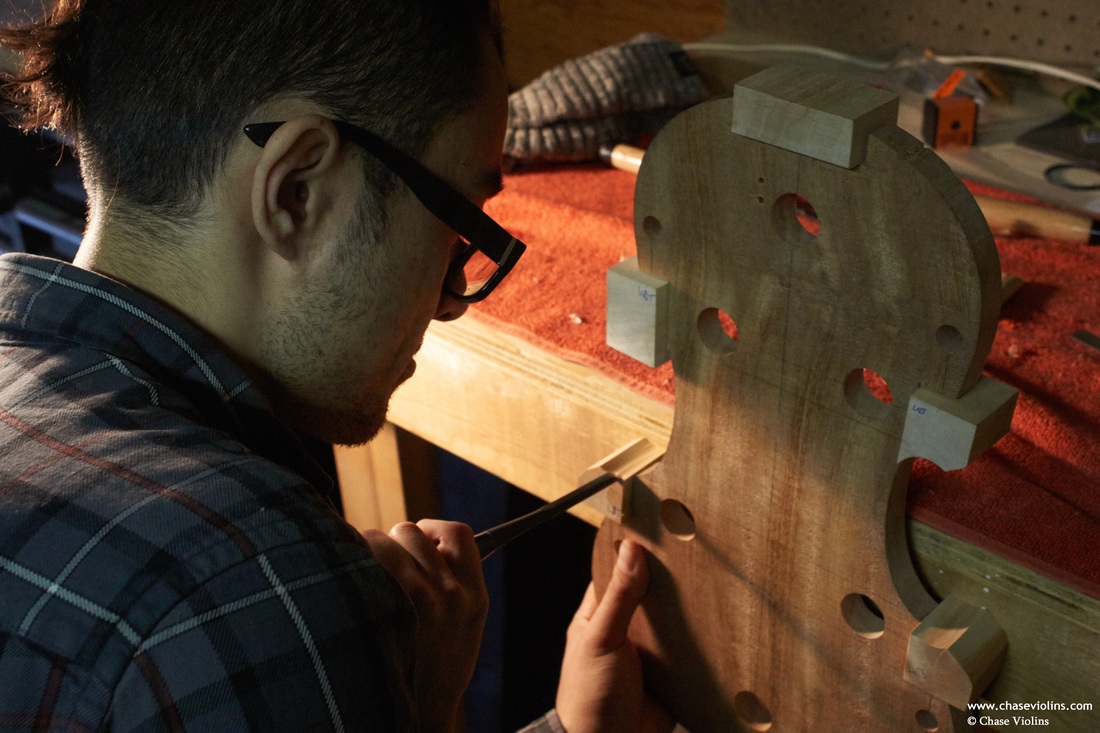
Using a combination of knives and this very small plane, the final outline is made.
​
Picture
Shaping the outline is one of the great joys in violin making.  I am always surprised how quickly this goes.  I spend quite a long time imagining the shape and then before I know it, the job is done!
Picture
2 Comments

Kathryn’s Viola—The Ribs

12/19/2015

1 Comment

 
Picture
The blocks are glued to the mold and then shaped with chisels for the convex curves (the upper and lower blocks) and incannel gouges for the concave curves (the corner blocks).
Picture
We shape and glue the middle bouts first.   The ribs are made to proper thickness, then bent around the iron.
Picture
​For these we use the traditional tying method.  I have yet to find a better method than this method used by Stradivarius.

Picture
The upper and lower bouts are done with modern clamps.
Picture
Moving right along!
Picture
1 Comment

Kathryn's Viola – Template and Mold

12/4/2015

8 Comments


​The template is made from a relatively thick gauge copper designed for intaglio printing. Copper is really a wonderful material. It is easy to cut and file, has good weight and, in time, it will develop an attractive patina.
Picture

​We first use a fretsaw to cut out the outline close to final dimensions and then use a file to refine the shape.
Picture
Picture
Antonio Stradivari used local walnut for his molds. The Yakima Valley is full of walnut so naturally I am using African Mahogany for this mold. After an exhaustive search for local walnut I did find it...in the form of firewood. Go figure!
Picture
I insert pins into the mold so that we can place, remove, and then re-place the template consistently in the same position. The pins also holds the template steady while we use the router table to cut the mold to final shape.
Picture
The coasters are used as spacers for the flush-cut router bit.
Picture
Now we're ready for the blocks and ribs!
Picture
8 Comments

    Archives

    January 2016
    December 2015
    November 2015

    Categories

    All
    Kathryn's Viola

Proudly powered by Weebly